 00:50
00:50
 Fadhel

This is a simple metallic text effect in photoshop,in this tutorial you will learn how to playing with layer and brushes,To create this effect we will start with simple background,next we will add some style text and then we finish it by adding some crack,You will need Photoshop cs3 or higher..
Tutorial Resources:
Step 1:
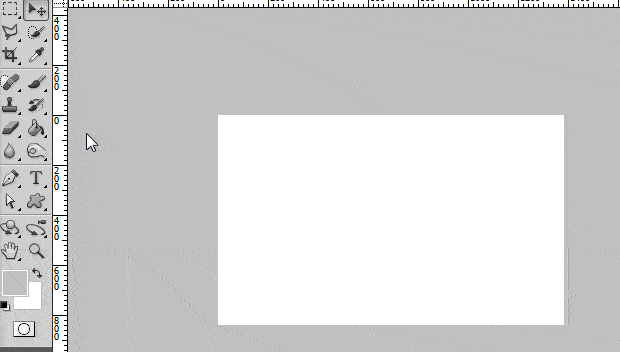
Open a new document at 1384 x 840 pixels at 200 resolution.

Step 2:
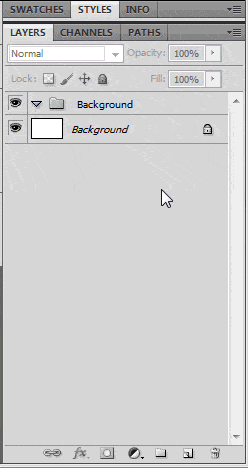
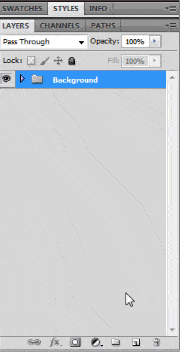
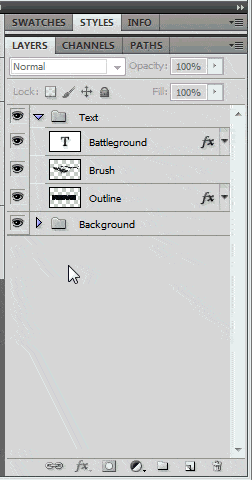
We will be dividing the layers in groups to make things easier and more organized so with that being said create a new Group by clicking on the Group Icon located between the Adjustment Layers and New Layer Icons at the bottom of the Layers Panel.
You can rename the Group by double-clicking it. Rename it ‘Background’
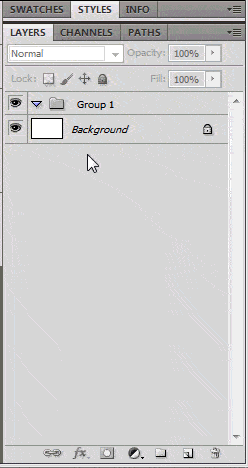
The Background Layer is locked by deafult but you can remove that by dragging the Lock Icon to the Bin Icon. Now drag the Background Layer inside the Group we just made.
Step 3:
Change your Foreground Color to #C0C0C0. Now using the Fill Bucket Tool, fill in your Background Layer.
Step 4:
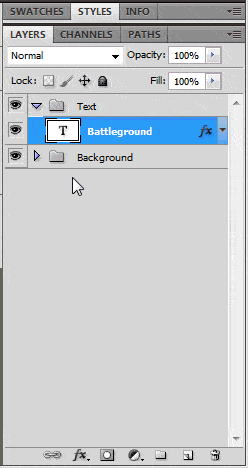
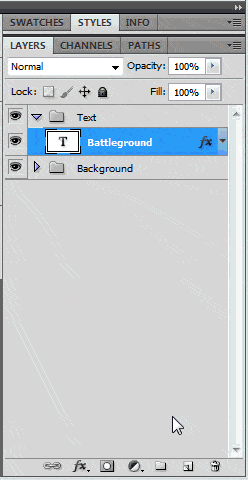
Create A New Group and name it ‘Text’
Step 5:
Grab your Text Tool (located at the Tools Panel right next to the Pen Tool) and type ‘Battleground’. Place your Text Layer on the center of your canvas. Use the following settings for the text:

Step 6:
Time to make the Metallic Effect. Making sure the Text Layer is selected, click on the Layer Style Icon (showed as the fx Icon located between the Chain and Layer Masks Icon on the bottom of the Layers Panel) and follow these settings:
Drop Shadow:

Inner Shadow:

Bevel and Emboss:

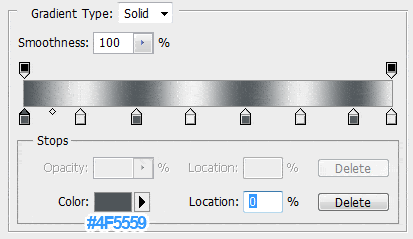
Gradient Overlay:

To Create a new Gradient while on the Gradient Overlay Menu of the Layer Style Window, click on the Gradient to open up the Gradient Editor Window. Using the two colors indicated above make six new Gradient Stops by randomly clicking on the Gradient Bar ; adjust the Stops’ Locations like so:
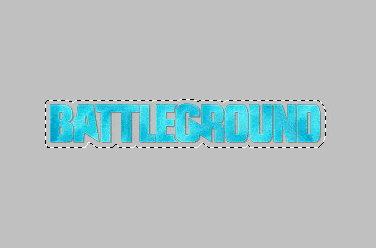
This is what it should look like:

Step 7:
Now for the Outline. First we need to make a selection out of our Text Layer (there are various ways to do that: Go to Select>Load Select>Ok |or| While holding down the Ctrl key, Click on the T icon next to the Text Layer as demonstrated below)
After that we need to expand it. Go to Select>Modify>Expand.
A small window will pop-out, adjust it like so: Expand: 20 px
This is what you should have by now:
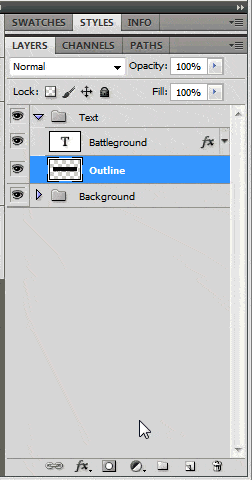
Step 8:
Create A New Layer and place it below the Text Layer. Rename it to ‘Outline’
Step 9:
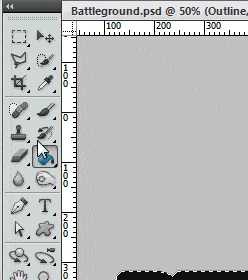
Change your Foreground Color to #0F0F10. Now using the Paint Bucket Tool, Fill in the Selection we just made then Deselect (click on the Marquee Tool at the Tools Panel located before to the Move Tool |or| Press M then just randomly click on the canvas).
Step 10:
Now we need to add some effects to it. Click on the Layer Style Icon and follow these settings:
Drop Shadow:
Inner Shadow:
Inner Glow:

Bevel and Emboss:

Gradient Overlay: (Use the same Gradient as before)

This is what you should have by now:

Step 11:
Next, we add more details to the Outline. Create A New Layer, place it above the Outline Layer and Name it ‘Brush’
Step 12:
Using the some of Crack Brushes Pack, mix a few of them together, it doesn’t have to be as close as what I made. With that being said, you can totally use brushes of your choice if you don’t like the ones I used.
I used these brushes:
Step 13:
Almost Done! We just need to some crack effects to the Text Layer. Making sure the Text Layer is selected, Click on the Layer Mask Icon.
Step 14:
Grab the same crack brushes we used before and brush over the Text Layer.
Step 15:
Now you don’t necesarily need to use the same color as the one I used, experiment with other colors, use other brushes, add more effects like a grain texture or patterns etc. Just let your creativity flow


Download the PSD:
Pc-android23.blogspot.com
 Posted in


0 comments :
Post a Comment